
Automation / IoT
SMART IRRIGATION SYSTEM.
A 3D-printed controller that reads soil moisture and waters a plant on its own, only when it actually needs it, instead of on a fixed timer.
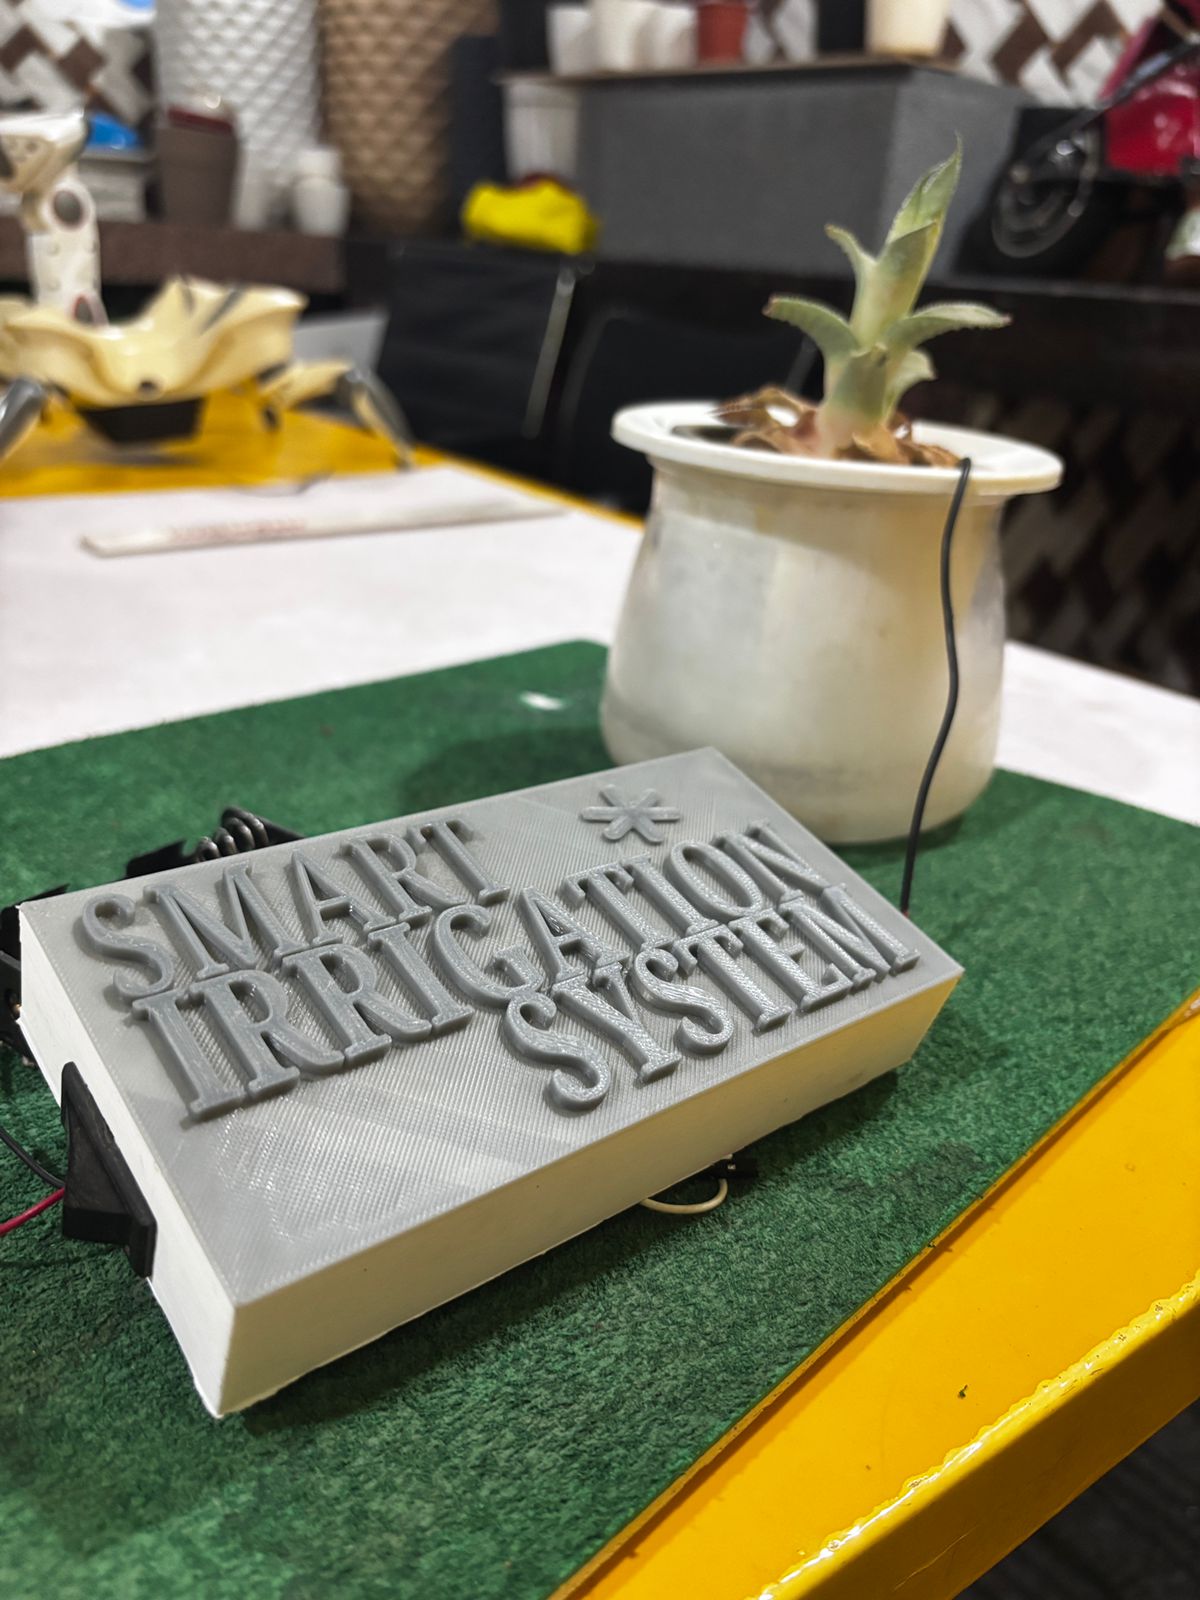
How it works
A soil moisture probe sits in the plant's pot and reports how wet the soil currently is. An Arduino-based controller checks that reading on an interval and compares it against a threshold: when the soil is dry, it switches on the watering mechanism just long enough to moisten the soil, then switches it off again. When the soil is already wet enough, nothing happens, so the plant is watered on demand rather than on a fixed schedule.
Components used
Identified from the build shown above and its project description. Exact part models may vary by supplier.
Arduino (or compatible microcontroller)
Reads the moisture sensor and decides when to switch the watering mechanism on and off.
Soil moisture sensor
A probe inserted into the soil, feeding back how wet or dry the ground currently is.
Relay-controlled water pump
Switched on briefly by the controller to water the plant whenever the soil reads dry.
Battery pack
Onboard power for the electronics, visible through the connector on the enclosure's side.
3D-printed enclosure
A custom-printed case housing the electronics, with the project name embossed directly into the lid.
Jumper wires
Connects the sensor and pump relay to the microcontroller's pins.
Example Arduino sketch
A representative implementation of the control logic described above, using an analog soil moisture sensor and a relay-driven pump.
// ROBOVATIVE - Example Smart Irrigation System Sketch
// Soil moisture sensor + relay-controlled water pump
// Pin numbers and threshold below are illustrative -
// calibrate them to your own sensor and soil.

const int moistureSensorPin = A0;
const int pumpRelayPin      = 7;

const int dryThreshold = 500;                    // higher reading = drier soil on most resistive sensors
const unsigned long checkIntervalMs = 60000UL;   // check once a minute

void setup() {
  pinMode(pumpRelayPin, OUTPUT);
  digitalWrite(pumpRelayPin, LOW);  // pump off
  Serial.begin(9600);
}

void loop() {
  int moistureLevel = analogRead(moistureSensorPin);
  Serial.print("Soil moisture reading: ");
  Serial.println(moistureLevel);

  if (moistureLevel > dryThreshold) {
    digitalWrite(pumpRelayPin, HIGH);  // soil is dry, water it
    delay(3000);                       // run the pump briefly
    digitalWrite(pumpRelayPin, LOW);   // then stop
  }

  delay(checkIntervalMs);
}